How to Flush Your Water Heater: Step-by-Step Guide
Sediment builds up in your tank every year, reducing efficiency and shortening lifespan. Flushing takes 30 minutes and costs nothing.
Safety Disclaimer
Water heater maintenance involves working with pressurized systems, scalding hot water, and potentially hazardous electrical or gas connections. Always shut off power (electric heaters) or gas supply (gas heaters) and allow water to cool to a safe temperature before beginning any maintenance. Wear appropriate safety equipment including gloves and eye protection. If you're uncomfortable with any step, contact a licensed plumber.
Why Flushing Matters
Minerals in your water (calcium, magnesium, lime) settle to the bottom of the tank as sediment. Over time, this sediment layer:
- Insulates the water from the heating element, reducing efficiency by up to 25%
- Causes popping and rumbling noises (steam bubbles trapped under sediment)
- Accelerates tank corrosion
- Can clog the drain valve, making future maintenance impossible
Annual flushing prevents all of these problems.
What You Need
- Garden hose
- Bucket (optional, for checking sediment)
- Flathead screwdriver or pliers (for the drain valve)
- Safety glasses and gloves (the water is hot)
For more on this topic, see our guide on How to Flush a Water Heater (Complete Guide).
Step-by-Step Instructions
1. Turn Off the Heat Source
- Gas: Turn the gas valve to the Pilot position.
- Electric: Turn off the breaker at the electrical panel.
For more on this topic, see our guide on How to Replace a Water Heater Drain Valve (DIY Guide).
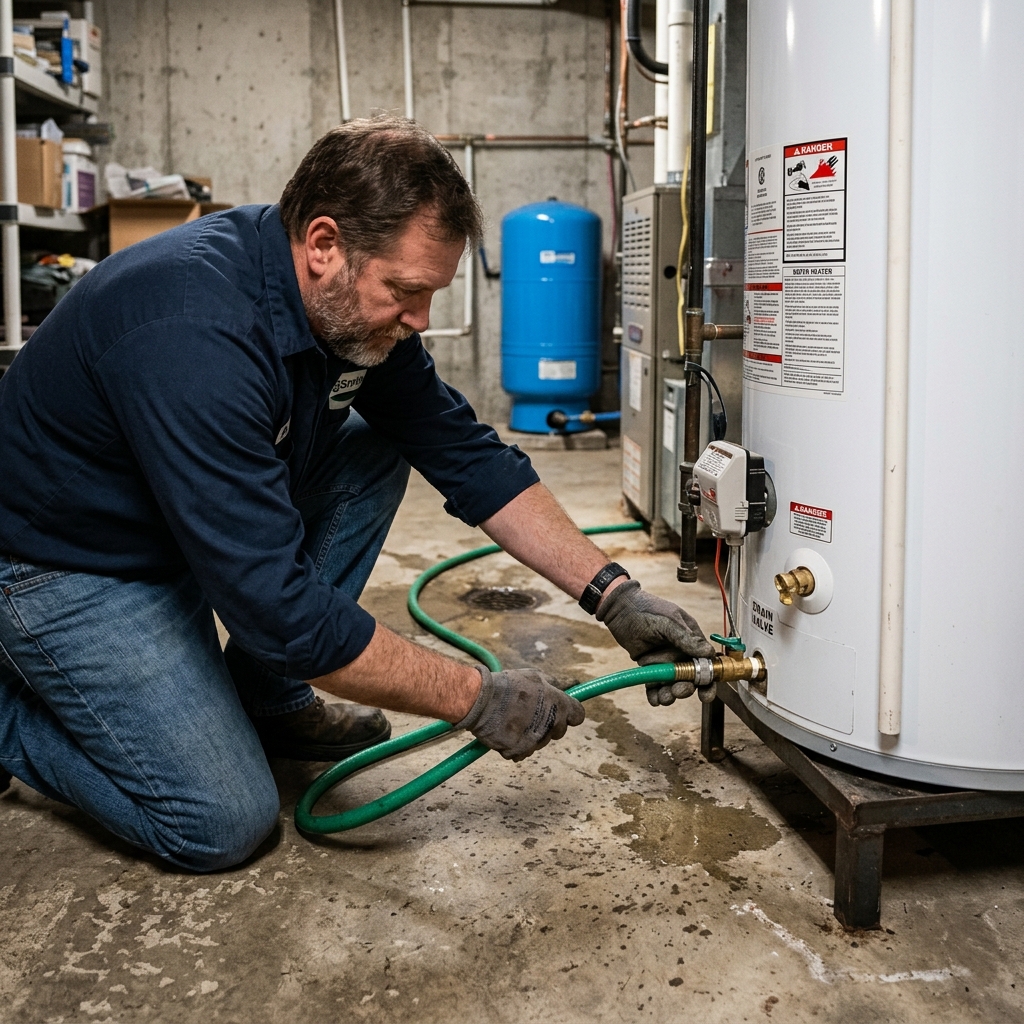
2. Connect a Garden Hose
Attach the hose to the drain valve at the bottom of the tank. Run the other end to a floor drain, driveway, or bucket. The water will be hot, so position the hose where hot water will not damage anything.
3. Turn Off the Cold Water Supply
Close the cold water shut-off valve on top of the water heater.
4. Open the Pressure Relief Valve
Lift the lever on the T&P (temperature and pressure) relief valve to break the vacuum and allow the tank to drain. You should hear air entering the tank.
5. Open the Drain Valve
Turn the drain valve counterclockwise. Water will begin flowing through the hose. The first gallon or two will likely be cloudy with sediment.
6. Flush Until Clear
Once the tank is mostly empty, briefly turn the cold water supply back on to stir up remaining sediment. Let it flush through the drain valve until the water runs clear.
7. Close Everything and Refill
Close the drain valve. Close the T&P valve. Open the cold water supply. The tank will begin refilling. Open a hot water faucet upstairs to bleed air from the lines. Once water flows steadily from the faucet (no sputtering), close it.
8. Restore Power
Turn the gas valve back to On, or flip the breaker back on. Wait 30-60 minutes for the full tank to reheat.