How to Flush Sediment from Your Water Heater
Step-by-step guide to flushing sediment from your water heater. Prevent popping noises, efficiency loss, and premature tank failure with annual flushing.
Safety Disclaimer
Water heater maintenance involves working with pressurized systems, scalding hot water, and potentially hazardous electrical or gas connections. Always shut off power (electric heaters) or gas supply (gas heaters) and allow water to cool to a safe temperature before beginning any maintenance. Wear appropriate safety equipment including gloves and eye protection. If you're uncomfortable with any step, contact a licensed plumber.
Sediment is the number one enemy of your water heater. Every gallon of water that enters your tank carries dissolved minerals, primarily calcium and magnesium. As the water heats, these minerals precipitate out of solution and settle at the bottom of the tank. Over months and years, this sediment layer grows thicker, harder, and more destructive.
Flushing is the fix. It takes 30-60 minutes, costs nothing if you DIY, and adds years to your water heater’s life. This guide walks through the complete process for both gas and electric water heaters.
Why Sediment Flushing Matters
Before you gather tools, understand what you’re preventing:
Energy waste. Sediment insulates the tank bottom from the burner (gas) or lower element (electric). Your heater has to run longer cycles to push heat through the sediment layer. The U.S. Department of Energy estimates that a half-inch of sediment can increase energy consumption by up to 10%.
Popping and rumbling noises. The sounds most people associate with a dying water heater are actually steam bubbles forming and popping beneath the sediment layer. See our water heater popping noise guide for the full explanation.
Tank overheating. When the burner runs overtime to compensate for sediment insulation, the tank bottom gets hotter than designed. This accelerates corrosion and weakens the steel.
Premature failure. A water heater that is flushed annually typically lasts 10-12 years. One that is never flushed may fail in 6-8 years. That’s a significant difference in replacement cost. See our how long do water heaters last guide for lifespan factors.
Reduced hot water capacity. Sediment takes up space inside the tank. A 50-gallon tank with two inches of sediment at the bottom is effectively a 45-gallon tank.
What You Need
Gather these items before you start:
- Garden hose (long enough to reach a floor drain, utility sink, or exterior)
- Flathead screwdriver (for the drain valve)
- Bucket (5-gallon, for initial drainage and testing water clarity)
- Work gloves (the water is hot)
- Safety glasses
- Towels or rags
Optional but helpful:
- Drain valve adapter if your drain valve has a non-standard fitting
- Flush kit with pump for tankless heaters or heavy sediment situations
- White vinegar (1-2 gallons) for dissolving stubborn mineral deposits
Step-by-Step: Flushing a Gas Water Heater
Step 1: Turn Off the Gas
Locate the gas control valve on the front of the water heater (near the bottom). Turn the knob to the “pilot” position. This shuts off the main burner while keeping the pilot light lit, so you don’t have to re-light it when you’re done.
If your water heater has an electronic ignition (no standing pilot), turn the gas valve to “off.”
Safety note: Never flush a gas water heater with the burner running. Heating an empty or partially empty tank can damage the tank lining and create a fire hazard.
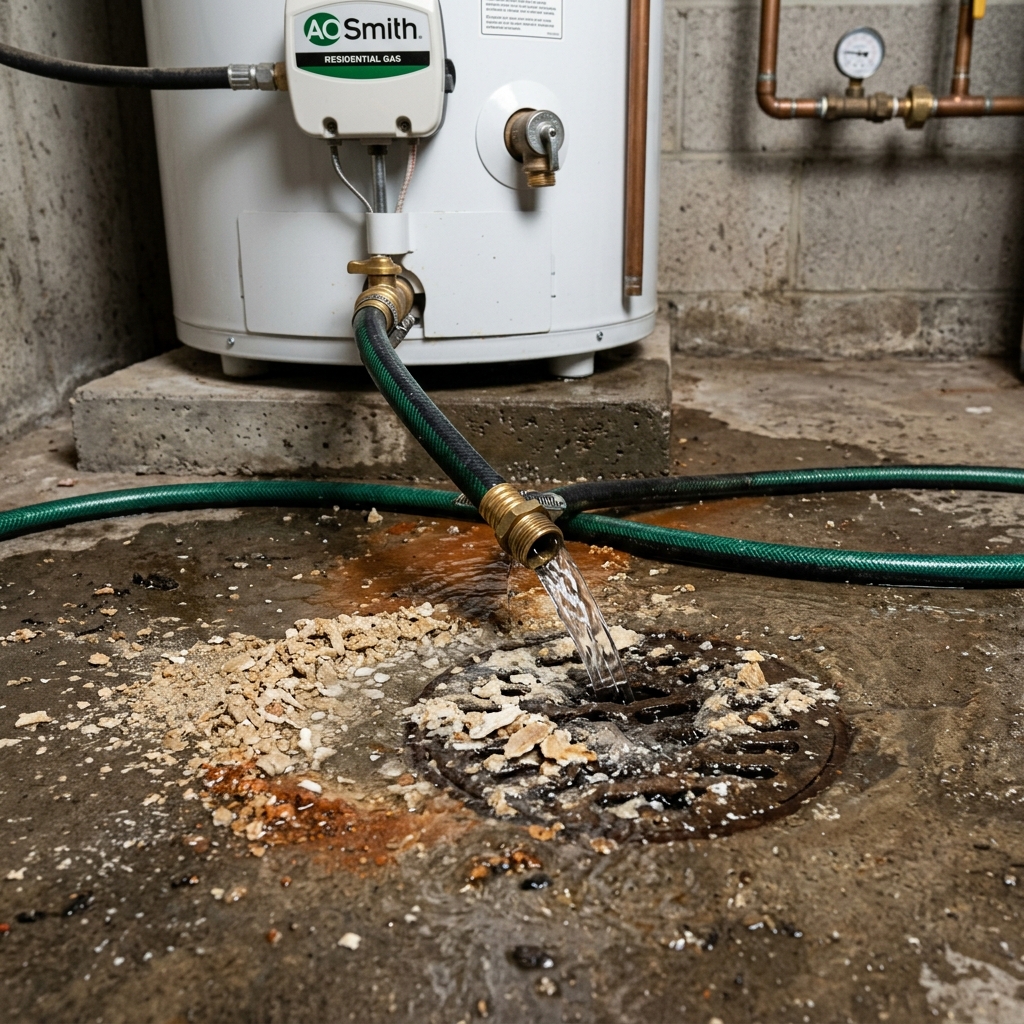
Step 2: Connect the Hose
Attach a garden hose to the drain valve at the bottom of the tank. The drain valve looks like a spigot or a short plastic knob. Run the hose to a floor drain, utility sink, laundry drain, or outside.
Important: The hose will carry hot water. Make sure the discharge location can handle hot water (130-140°F). If draining outside, keep the hose end away from plants, pets, and children.
Step 3: Turn Off the Cold Water Inlet
Locate the cold water supply valve on top of the water heater (usually on the right side). Close it by turning the handle perpendicular to the pipe. This prevents new water from entering the tank while you drain it.
Step 4: Open the T&P Relief Valve
Lift the lever on the temperature and pressure relief valve (located on the side or top of the tank). This breaks the vacuum inside the tank and allows water to flow out the drain valve. You’ll hear air entering the tank. Leave the T&P valve open during draining.
Step 5: Open the Drain Valve
Open the drain valve fully. Water will begin flowing through the hose. This initial flow will likely be cloudy or discolored. That’s the sediment.
If the drain valve is stuck or clogged: Don’t force it. See our guide on how to unclog a water heater drain valve for techniques.
Step 6: Let the Tank Drain
Allow the tank to drain completely. This takes 15-30 minutes depending on sediment accumulation and hose length. While draining, collect a sample in the bucket every few minutes to monitor water clarity.
Step 7: Flush with Cold Water
Once the tank is empty, briefly turn the cold water inlet valve back on. Let cold water flow into the tank and out through the drain valve for 3-5 minutes. This stirs up and flushes out remaining sediment.
Repeat this cold water flush until the water coming out the hose runs clear. For tanks with heavy sediment, this may take 3-4 cycles.
Step 8: Close Up and Refill
- Close the drain valve firmly
- Close the T&P relief valve
- Remove the garden hose
- Open the cold water inlet valve fully
- Open a hot water faucet somewhere in the house (this allows air to escape as the tank fills)
- Wait until a steady stream of water flows from the open faucet (tank is full, no more air)
- Close the hot water faucet
- Turn the gas valve from “pilot” back to “on”
- Set the thermostat to your desired temperature (120°F recommended)
Check the drain valve for drips. If it leaks, see our drain valve leaking guide.
Step 9: Verify
Wait 30-45 minutes for the tank to reheat. Check a hot water faucet. The water should be hot and clear. If it’s still discolored, run the hot water for several minutes. Persistent discoloration may indicate anode rod depletion. See our anode rod replacement guide.
Step-by-Step: Flushing an Electric Water Heater
The process is nearly identical to gas, with one key difference:
Step 1: Turn off the breaker. Flip the dedicated breaker for the water heater to the “off” position. Electric heating elements can burn out within seconds if they’re energized without being submerged in water. This is the single most important safety step for electric heaters.
Step 2-8: Follow the same steps as the gas water heater process above.
Step 9: Restore power only after the tank is completely full. Confirm water flows from a hot water faucet before turning the breaker back on. Running an element in a partially filled tank will destroy the element. See our guide on how to test a water heater element if you suspect element damage.
Dealing with Stubborn Sediment
If regular flushing doesn’t clear the sediment, you have several options:
Back-Flushing
Forcing water backward through the drain valve under pressure can break up compacted sediment. This requires a washing machine hose connection and a utility faucet. Our back-flush guide covers the technique in detail.
Vinegar Soak
For hardite or calcite deposits (white, chalky mineral crust), a vinegar soak can dissolve what water alone can’t:
- Drain the tank completely
- Close the drain valve
- Disconnect the cold water supply line from the top of the heater
- Pour 2-4 gallons of white vinegar into the tank through the cold water inlet
- Reconnect the supply line loosely (don’t tighten fully)
- Let the vinegar sit for 6-8 hours or overnight
- Drain the tank through the drain valve
- Flush with fresh cold water until the vinegar smell is gone
- Refill and restore power/gas
Drain Valve Replacement
If your drain valve clogs repeatedly, the valve itself may be too small. Many water heaters come with cheap plastic drain valves with tiny openings. Replacing it with a full-port brass ball valve allows much more sediment to pass through during flushing. See our drain valve replacement guide for the swap procedure.
Brass Ball Valve for Water Heater - Full-port 3/4” brass ball valve, fits standard water heater drain.
How to Tell If Your Water Heater Needs Flushing Right Now
Check for these indicators between scheduled flushes:
- Popping or rumbling sounds during heating cycles
- Longer recovery time after heavy hot water use
- Rusty or discolored hot water (but not cold water)
- Reduced hot water volume, tank seems to run out faster than it used to
- Visible sediment in aerator screens on faucets
- Higher energy bills without increased usage
For a complete list, see our signs your water heater needs flushing guide.
Building a Maintenance Schedule
Flushing is just one part of water heater maintenance. Pair it with these tasks for maximum tank life:
| Task | Frequency |
|---|---|
| Flush sediment | Annually (6 months for hard water) |
| Inspect anode rod | Every 2-3 years |
| Test T&P relief valve | Annually |
| Check for leaks | Monthly visual inspection |
| Inspect venting (gas) | Annually |
| Clean inlet filter (tankless) | Every 6 months |
For the complete schedule, see our water heater maintenance checklist.
Related Guides
- How to Drain a Hot Water Heater - Full draining process
- How to Remove Sediment from Water Heater - Advanced sediment removal
- How Often to Flush a Water Heater - Flushing frequency guide
Sources
- U.S. Department of Energy, Water Heater Maintenance - Energy impact of sediment
- International Association of Certified Home Inspectors - Flushing best practices